You are here
Re.8 Static
 “It’s always exciting starting a new project, and even more exciting when it comes out of nowhere! This was the case with the RE.8 we built for the Omaka Aviation Heritage Center. We had less than 6 months to build an accurate RE.8 for (thankfully) static display, depicting one of the true workhorse aircraft of the RFC. ”
It was a useful project for us, since the RE.8 is on our "to build" list as an airworthy reproduction. This project gave us a valuable opportunity to put our research to good use, and really test drive how much information we had - and how much we still needed. Since we didn't have the pressure of flight, we were able to judge just what we'd need to do to construct a fully airworthy example.
The RE.8, like it's stable mates the Fee and BE series, were built in huge numbers during WW1, but very few survive today. Only two original airframes exist and we had valuable help from both Duxford and Brussells in building our reproduction. However, we feel that neither of these two original airframes is truly representative of the classic reconnaissance and artillery spotting aircraft designed to replace the BE series of aircraft. One is powered by a Hispano Suiza engine, which alters the nose profile - and the other is suspended high in the air in an atypical colour scheme. Our aim was to provide the Aviation Heritage Center with a classic looking RE.8 and put it into an environment that would give the viewer a sense of what it was like in front line service.
Research
Fortunately, we had been researching the RE.8 for sometime, and had gathered a large, but incomplete, set of original drawings. Not quite enough to build an aircraft from, but a good start. We were allowed access to Duxford's machine during the end of it's restoration, and the photographs we took were very useful. We also had copies of photographs taken during previous restorations. The Musée de l'Air in Brussels, Belgium was equally helpful, and allowed us access to measure and photograph areas missing from our drawings.
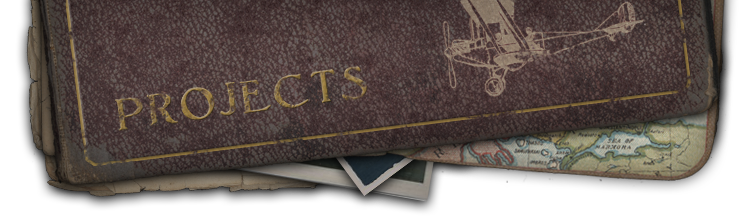
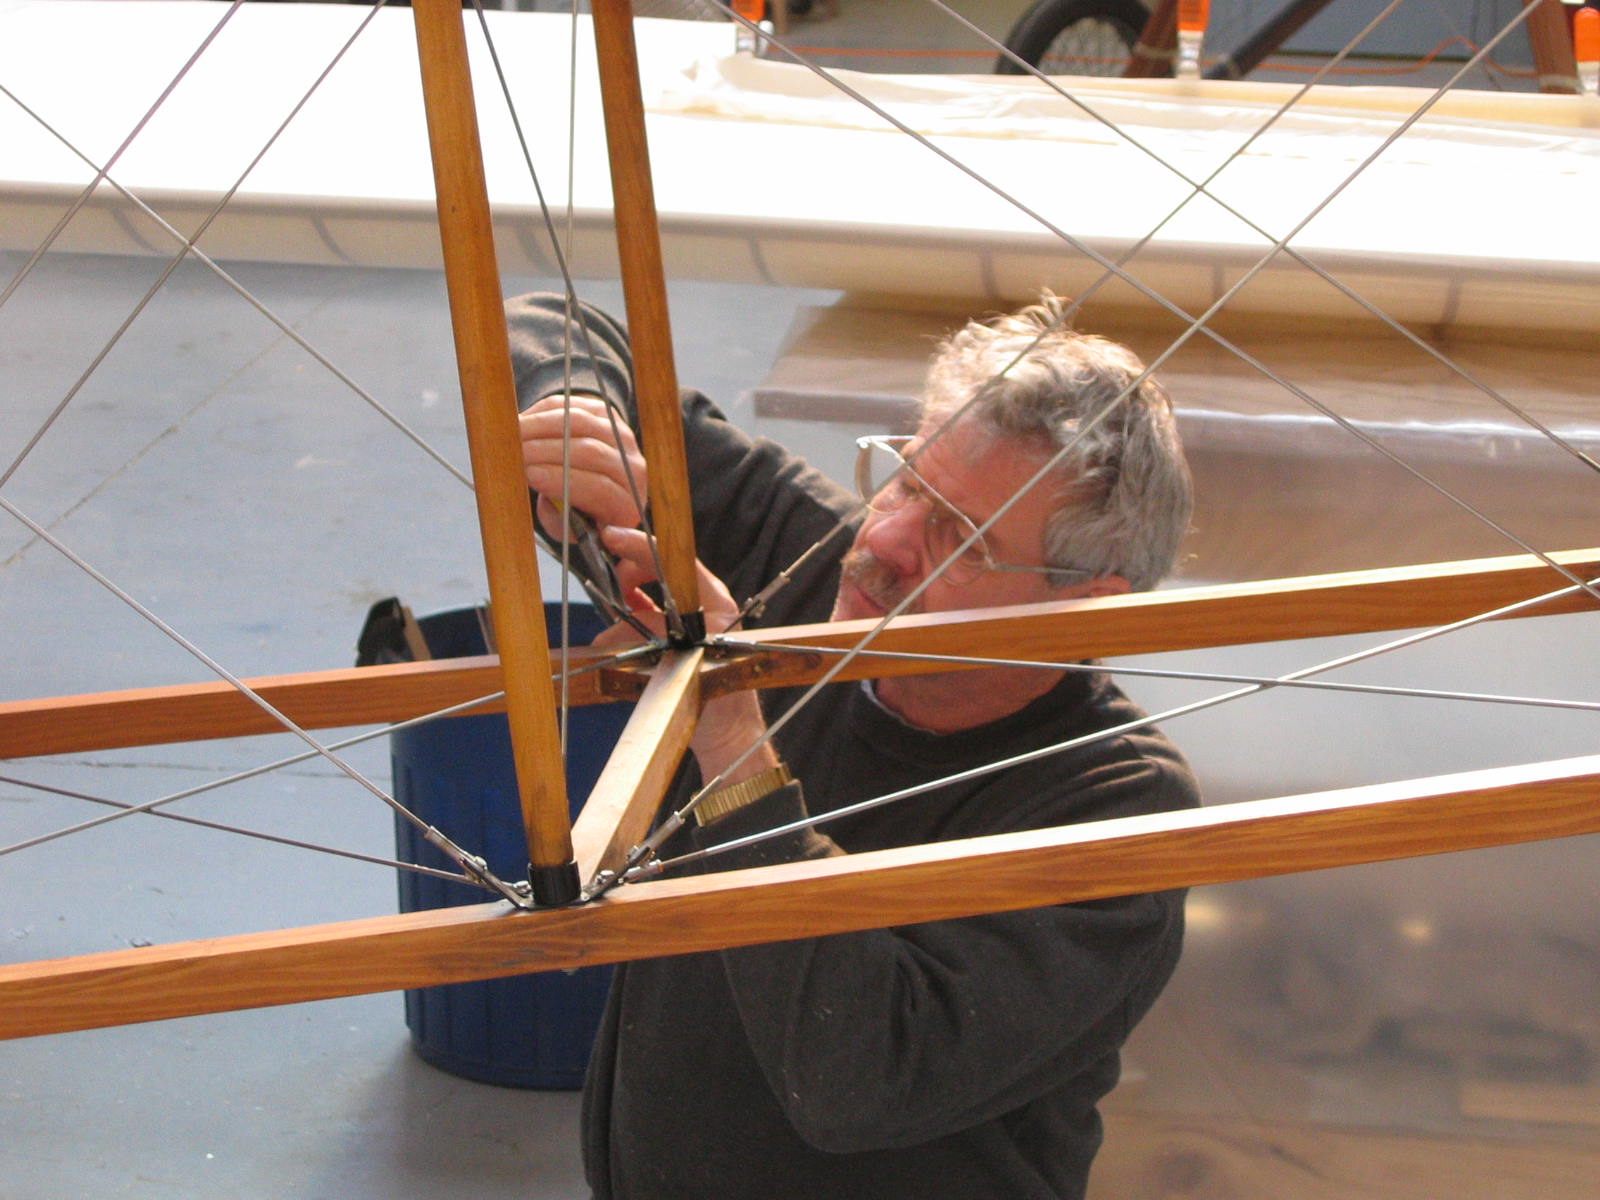
The Building Process
The first task was to try and work out what we had and how we were going to fill in the gaps. We did have an arrangement of the forward part of the fuselage and a side elevation of the aircraft that gave us an overall length and a rough idea of the type of construction of the rear frame. We really needed to work out almost all of the fuselage bracketry, the types of timber used in many areas and the correct dimensions for many areas. On top of that we had to work out the shape and construction of the rudder, upper and lower centre sections and the turtle deck and cockpit area.
Fortunately being a Royal Aircraft Factory design, many of the construction techniques and designs were similar or identical to other aircraft built by the R.A.F. It's incredible just how many parts, big and small are shared between the SE, FE, RE and BE series of aircraft. In fact we discovered that the wings and horizontal stabilizer and elevators used on the RE8 were essentially BE.2e components. That was a stroke of luck, because we are working on the restoration of an original BE.2e, and had a set of reproduction wings built in the UK for that project. These had the correct RAF 14 profile, but we had deemed them non airworthy due to various diversions from the original designs. We also had a full tail plane and elevators that we could use. This was a great start to our project and allowed us to concentrate on the fuselage, landing gear, fin and rudder. We were rather short of original drawings for the fuselage- probably about 65-70% of those required.
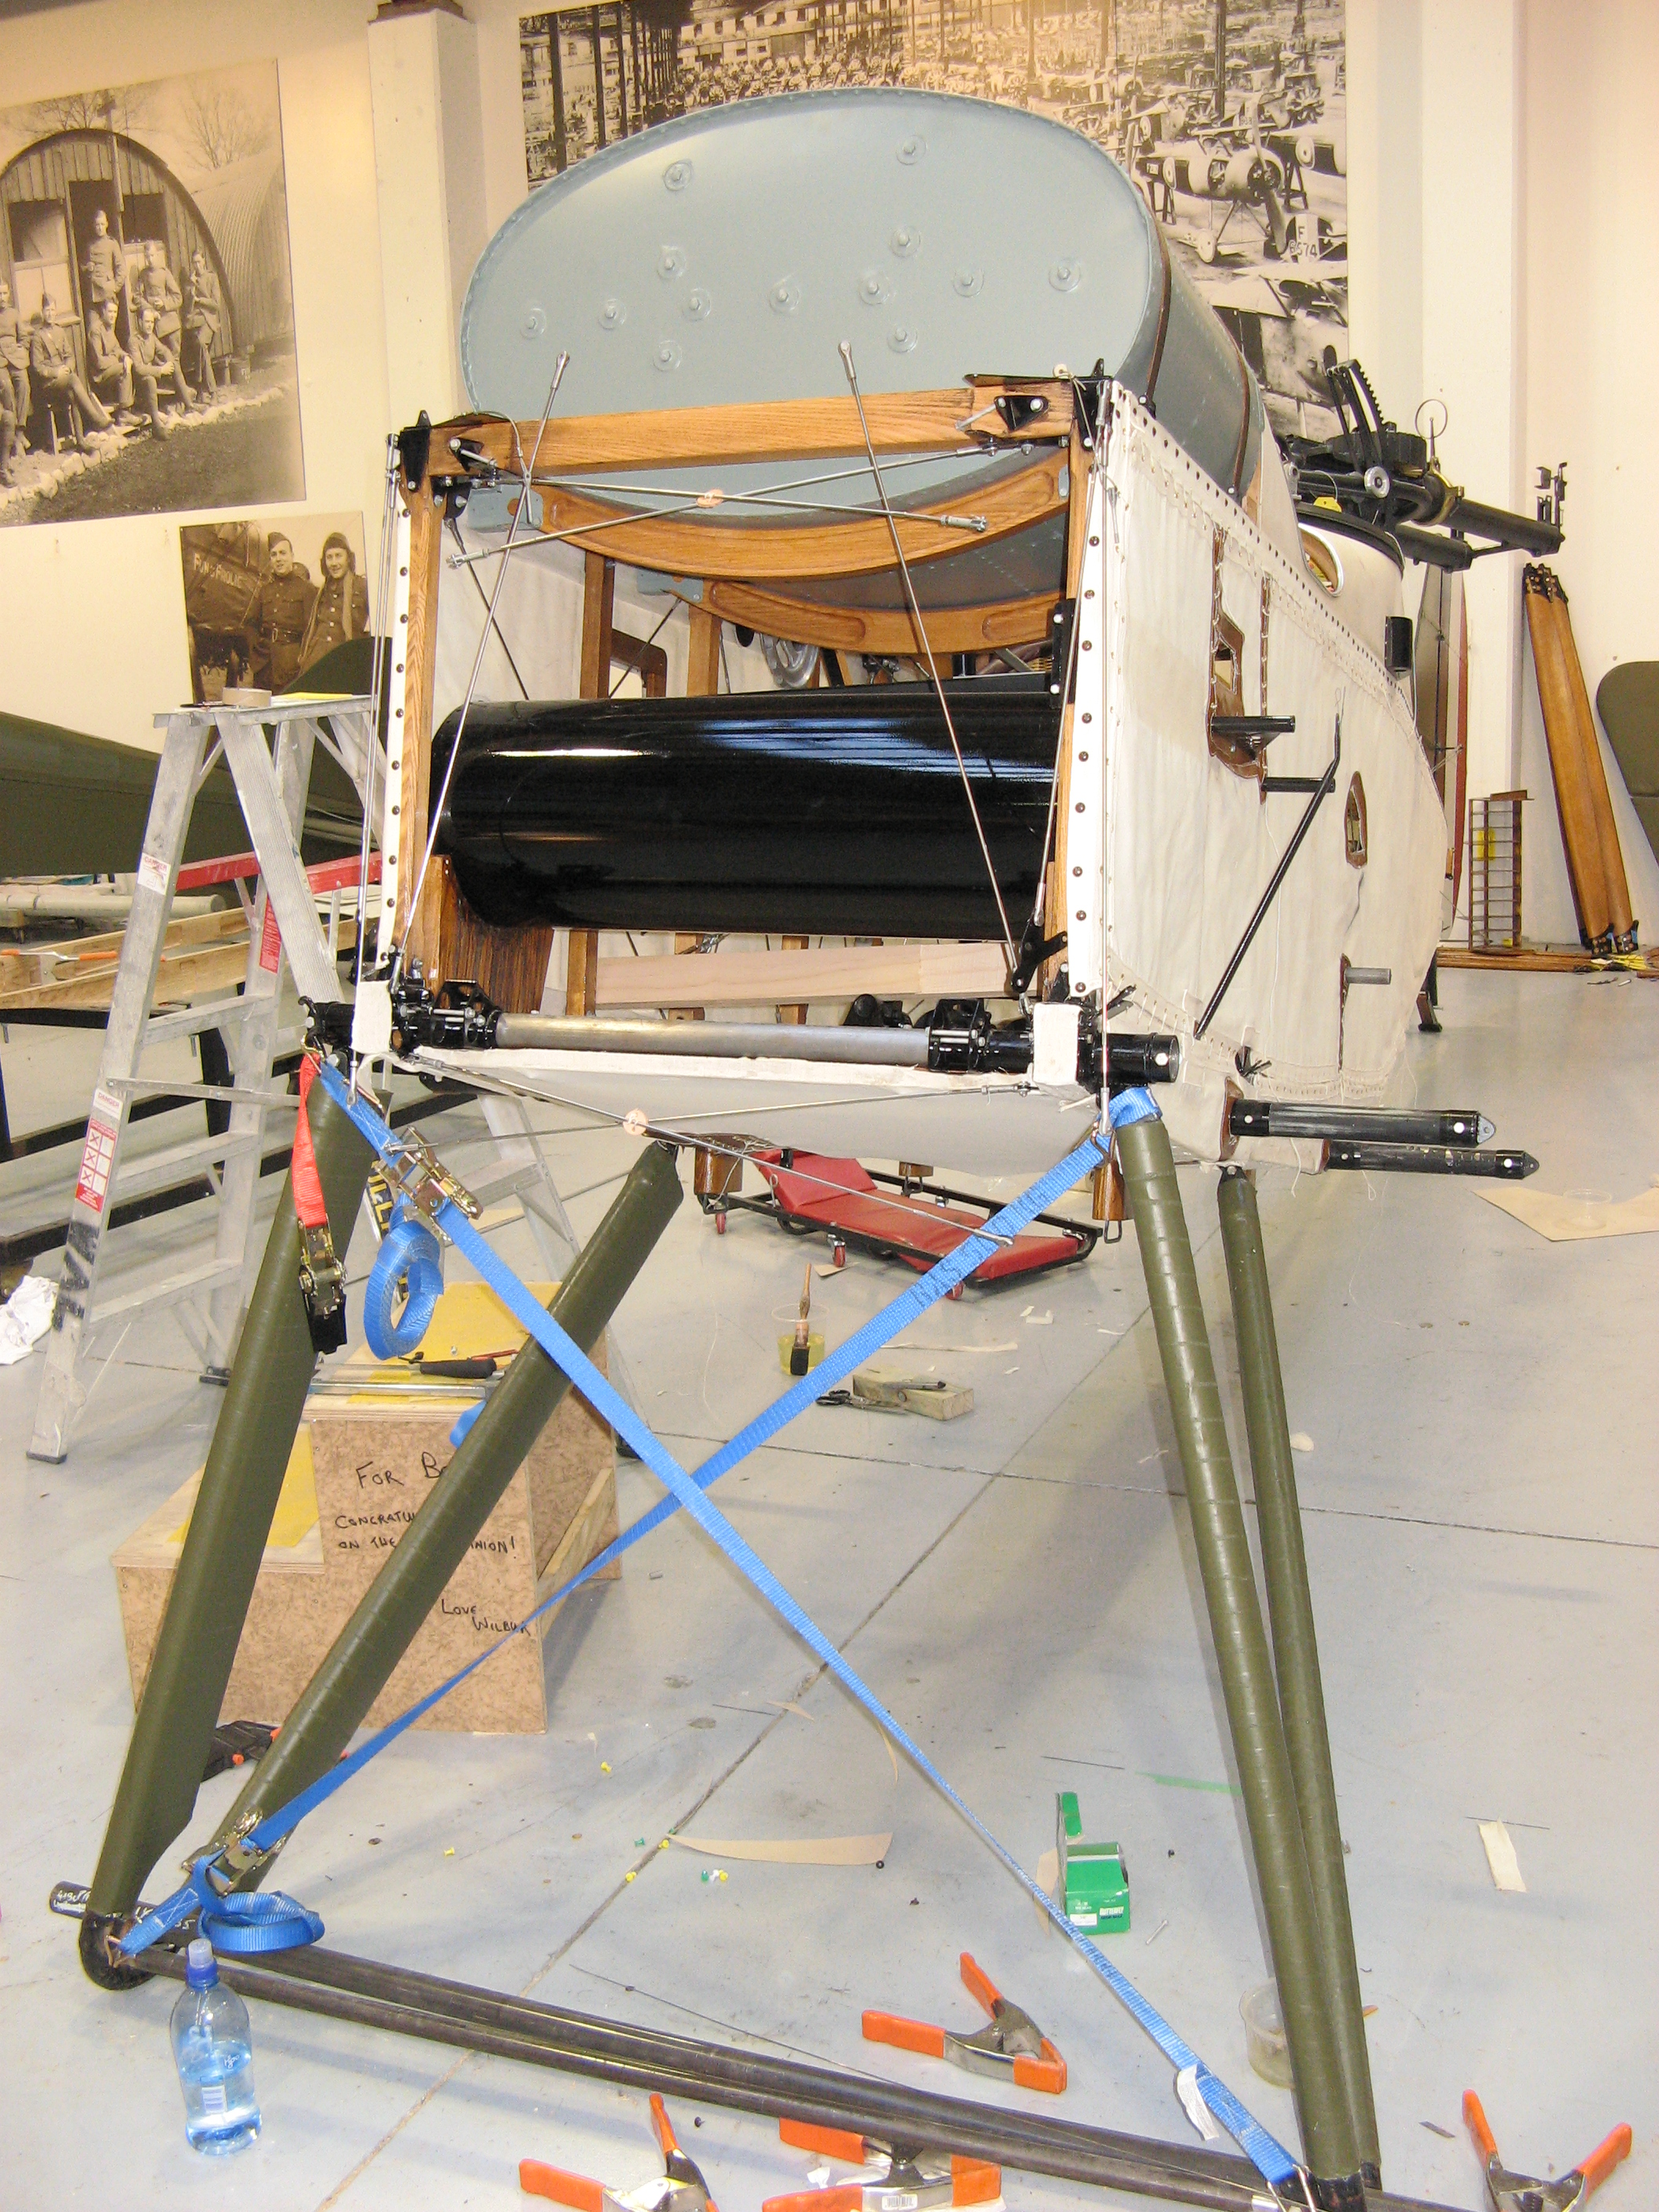
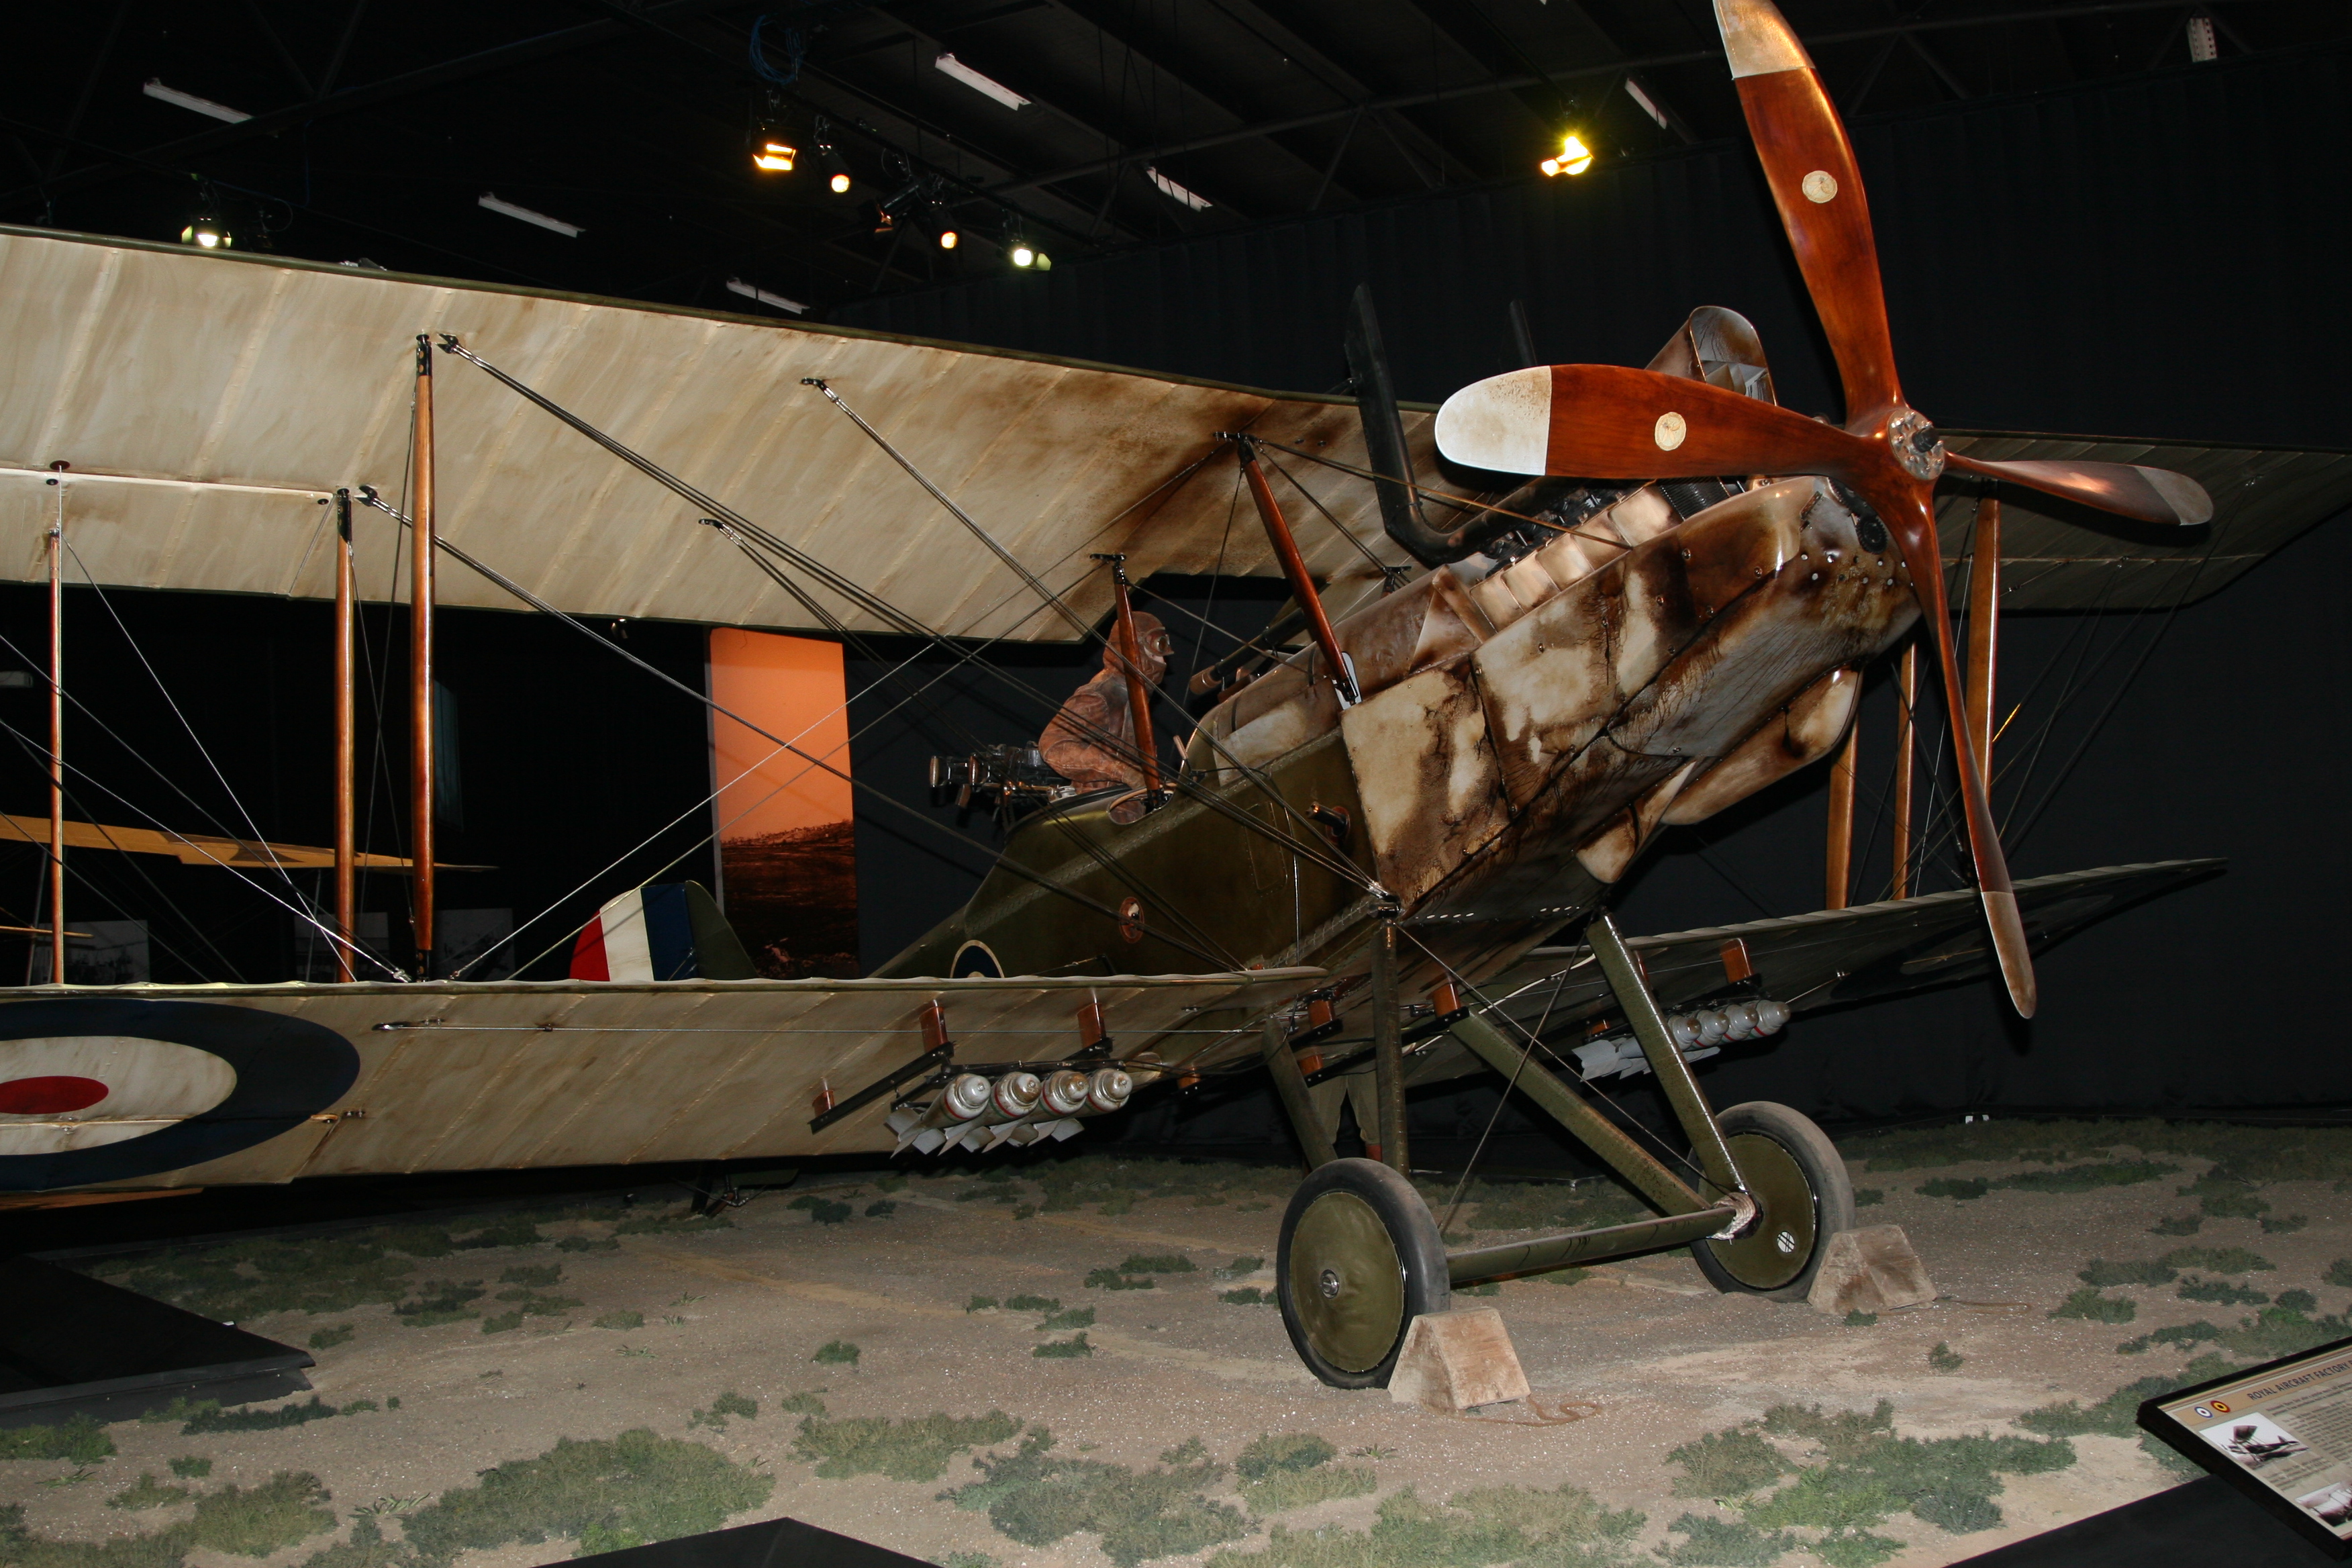
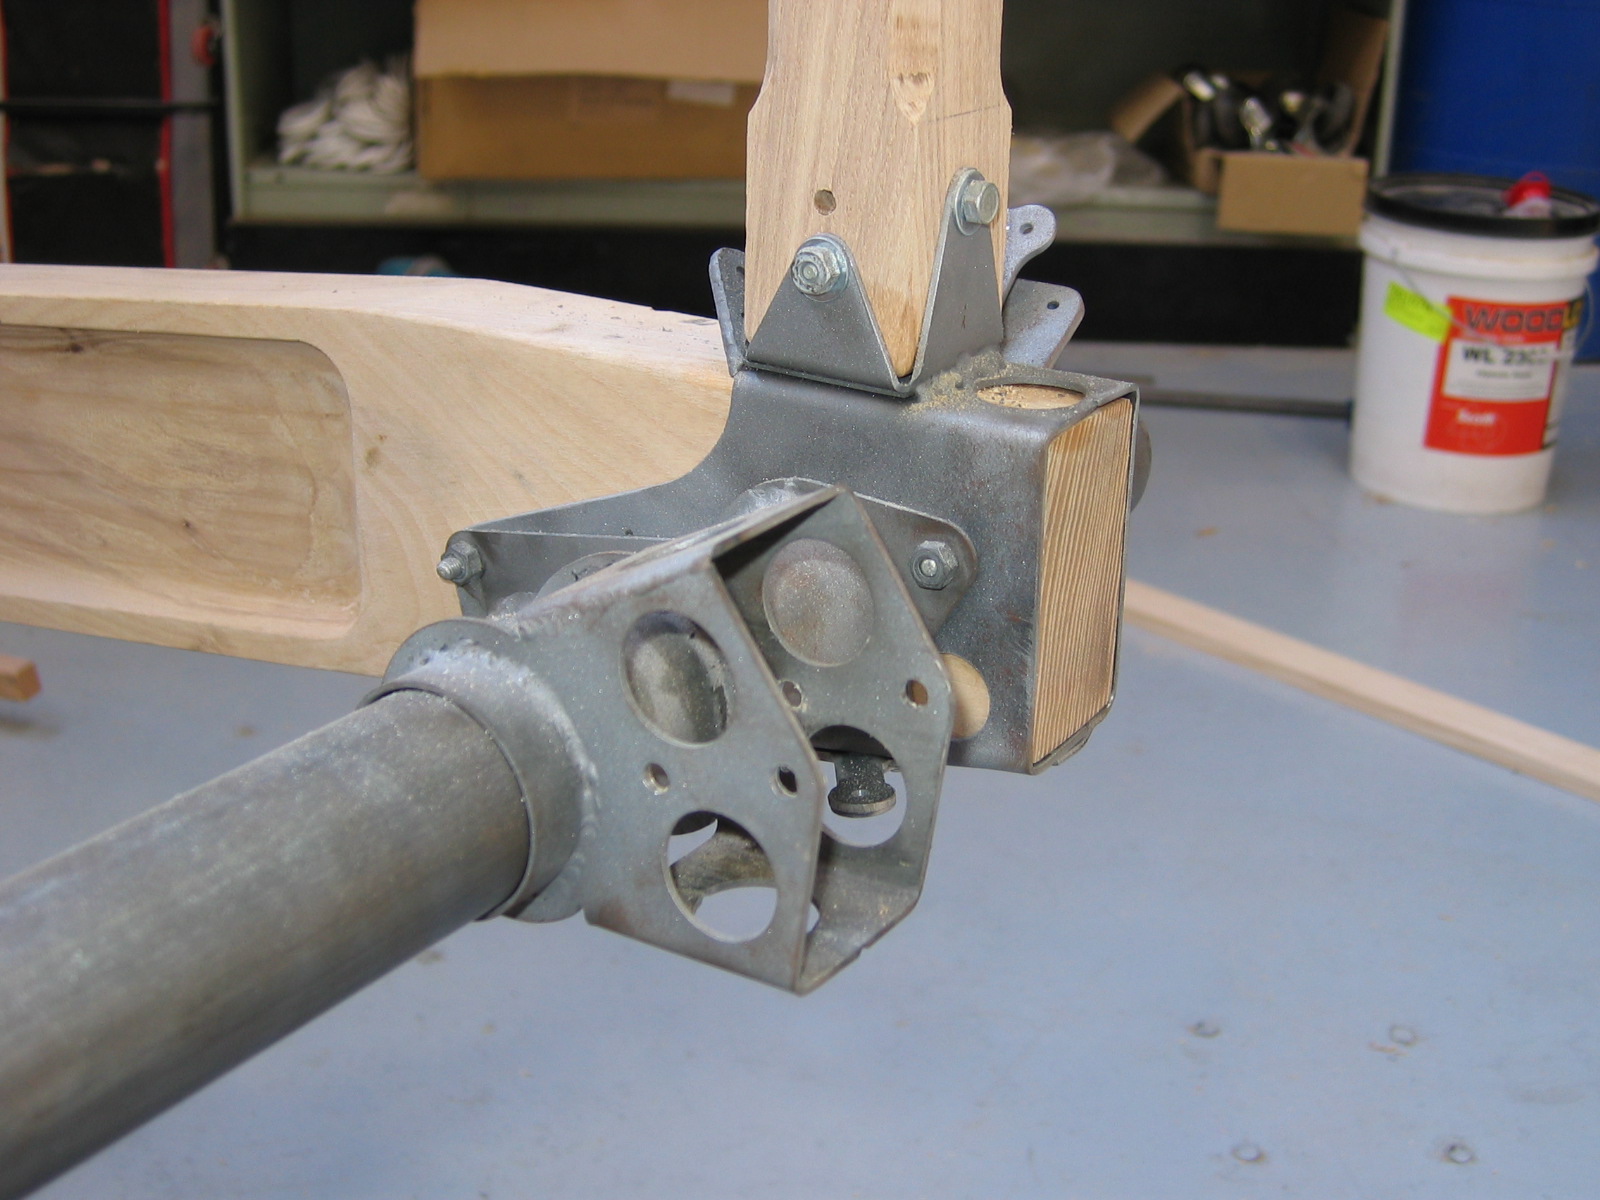
We started working on the forward fuselage. From one general arrangement drawing, some of the drawings of the engine area, and photographs, we worked out all of the timber structure and most of the bracketry. For the landing gear we utilized information from the BE.2 series drawings and adapted the information to suit the wider fuselage of the RE.8. The photographs and joint arrangement drawings gave us the look of the brackets but not much in the way of dimensions or material specs- that was basically a guess and thank goodness it doesn’t need to fly! Since that time however we have made a research trip to Belgium to the Musée de l’Air, who were extremely helpful, and extensively photographed and dimensioned whatever we could reach of their RE.8.
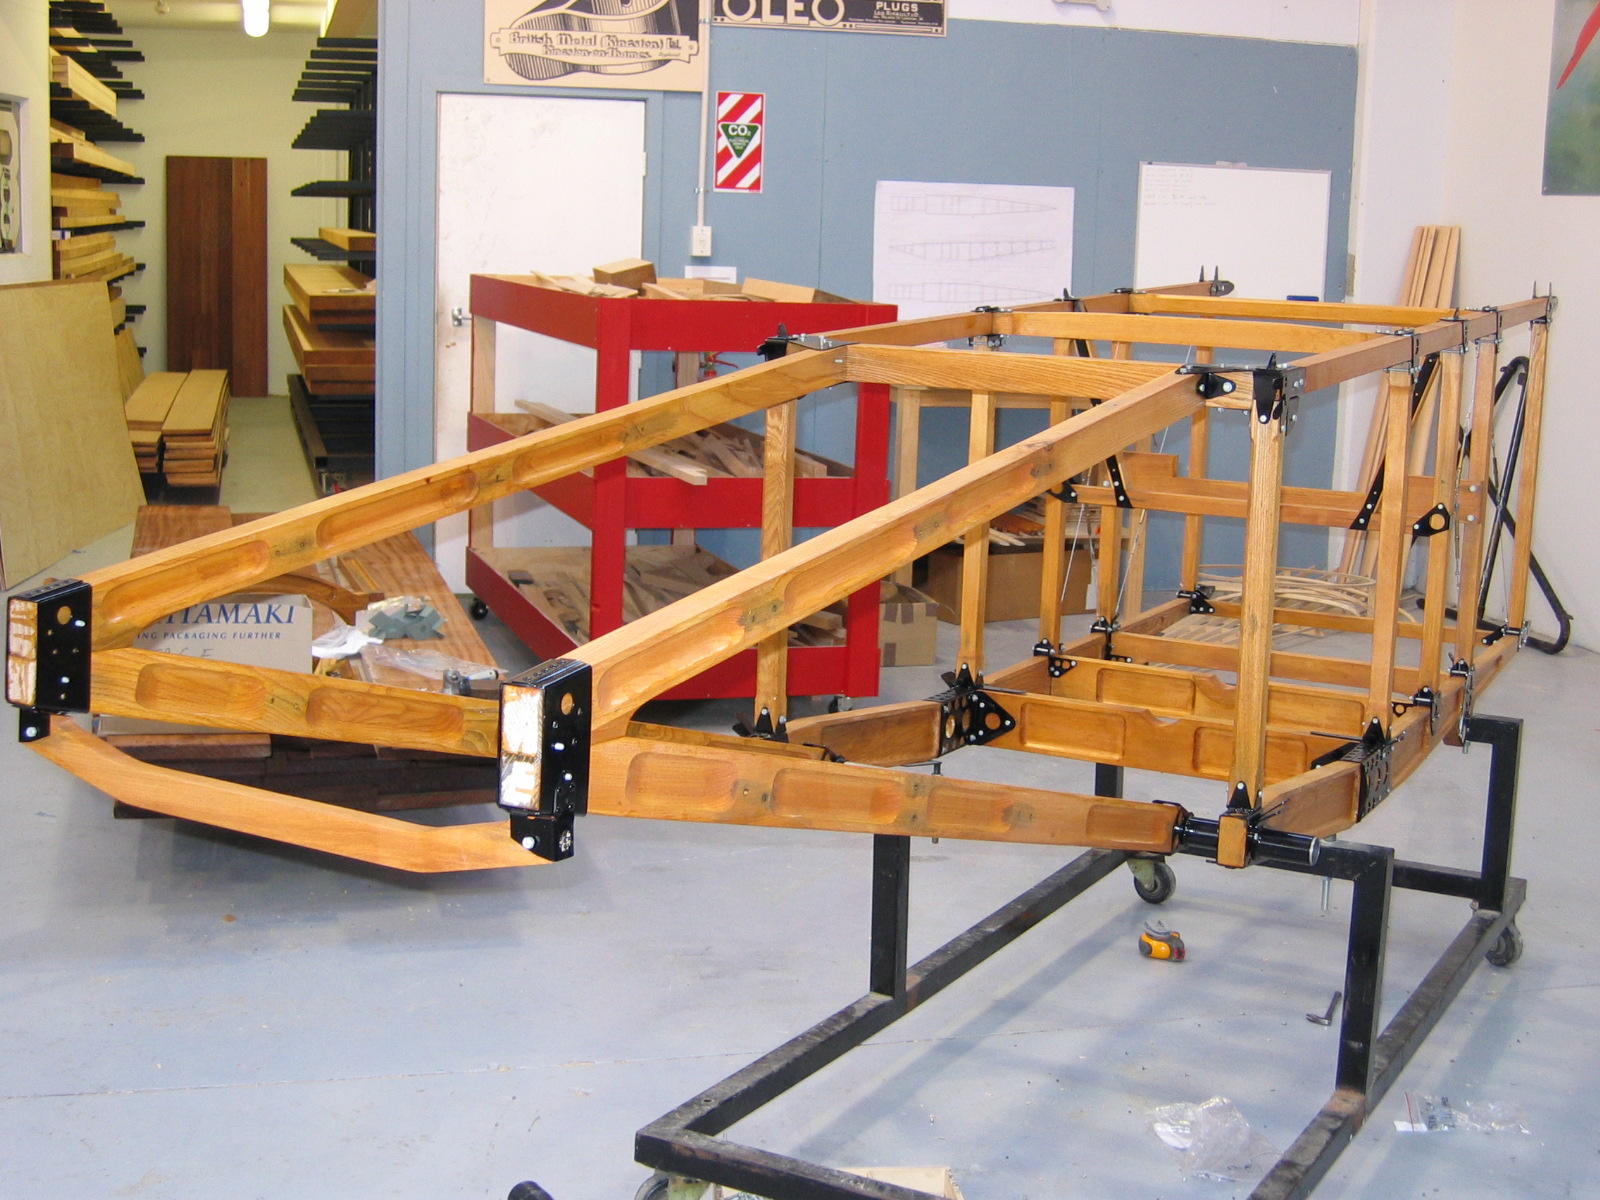
The rear fuselage was mostly extrapolation work from photographs and using our knowledge of the BE series to create the right look and structure for the aircraft. For us it was equally important to get it looking right under the skin as it was from the outside. To that end we made every effort to use the correct timber in each area, bracketry that at least belonged to that style of plane and even made sure that the hardware was authentic British BA and BSF nuts and bolts. At this point it became very important to work out a specific aircraft registration to base our replica on. RE.8’s served in different combat roles and they varied from plane to plane in construction, installed equipment as well as paint scheme. Some were fitted with radio gear, others with large camera mounts, and even bomb racks. We chose an Australian RE.8 similar to one that may have shot down a German Albatros D.Va, it was from No. 3 squadron AFC serial No. A4597 and had a distinctive “Kewpie Doll” logo on it’s rear fuselage.
Only a few weeks to go, and the fuselage was coming together having been shellacked and aged to give the replica that “used and war worn” patina. At the same time we were building the rudder and the centre sections. The lower center section has distinctive cut-outs for observation and bomb aiming. The upper center section for our example did not require the transparent panel that many RE.8’s had. In another part of the workshop, Scarff rings were being built, one of which was earmarked for our “Harry Tate”. The Scarff ring was copied from an original in the 14 - 18 Aviation Heritage Trust collection, built to allow the mounting of original guns if required. Our aircraft guns were supplied for the Omaka replica - nice to see the forward firing Vickers mounted in full view for a change.
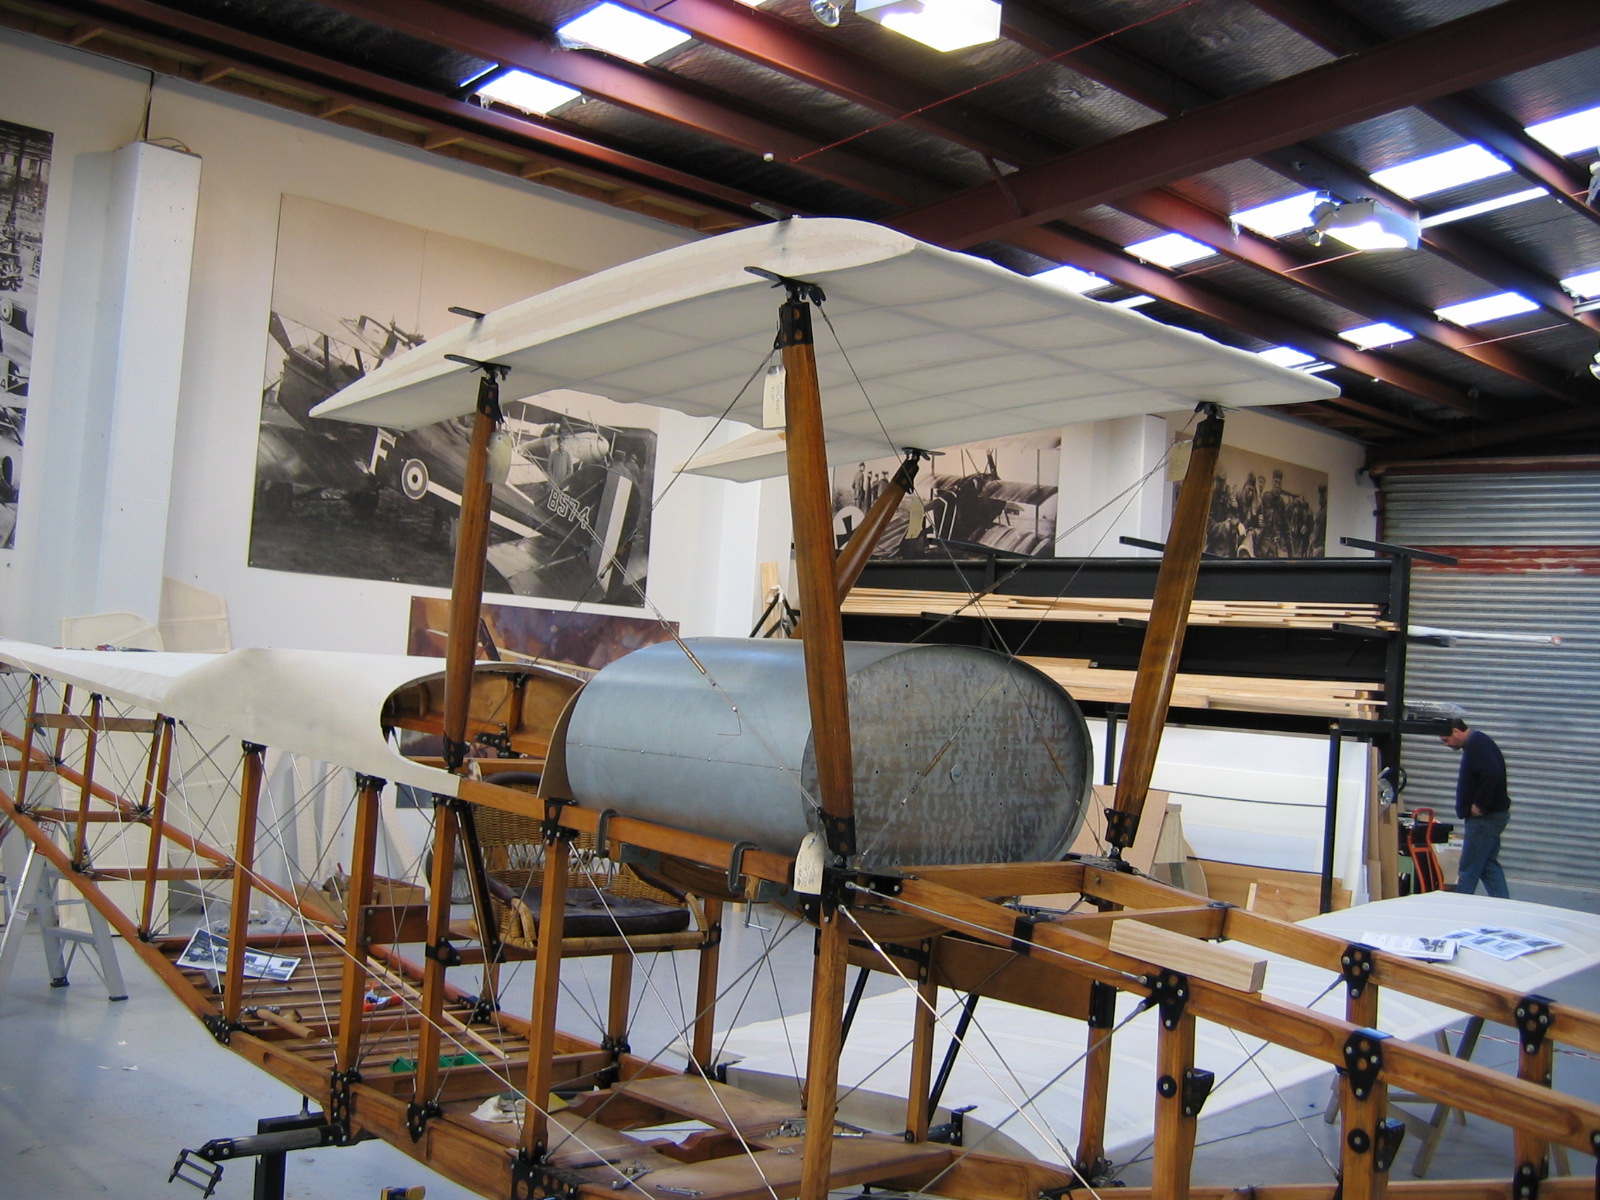
Towards the end of the project we were starting to put the fabric on the plane. We had already done a trial covering of the tailplane and elevators. The wings had been test fitted against their centre sections and were also being covered and the fuselage was mounted on its landing gear and getting its fabric and lacing tapes made. We found reference for the lacing pattern and could copy the reinforcement patches used on the original aircraft. For this particular replica we chose an uncertified fabric rather than the much more expensive aircraft-certified Irish Linen.
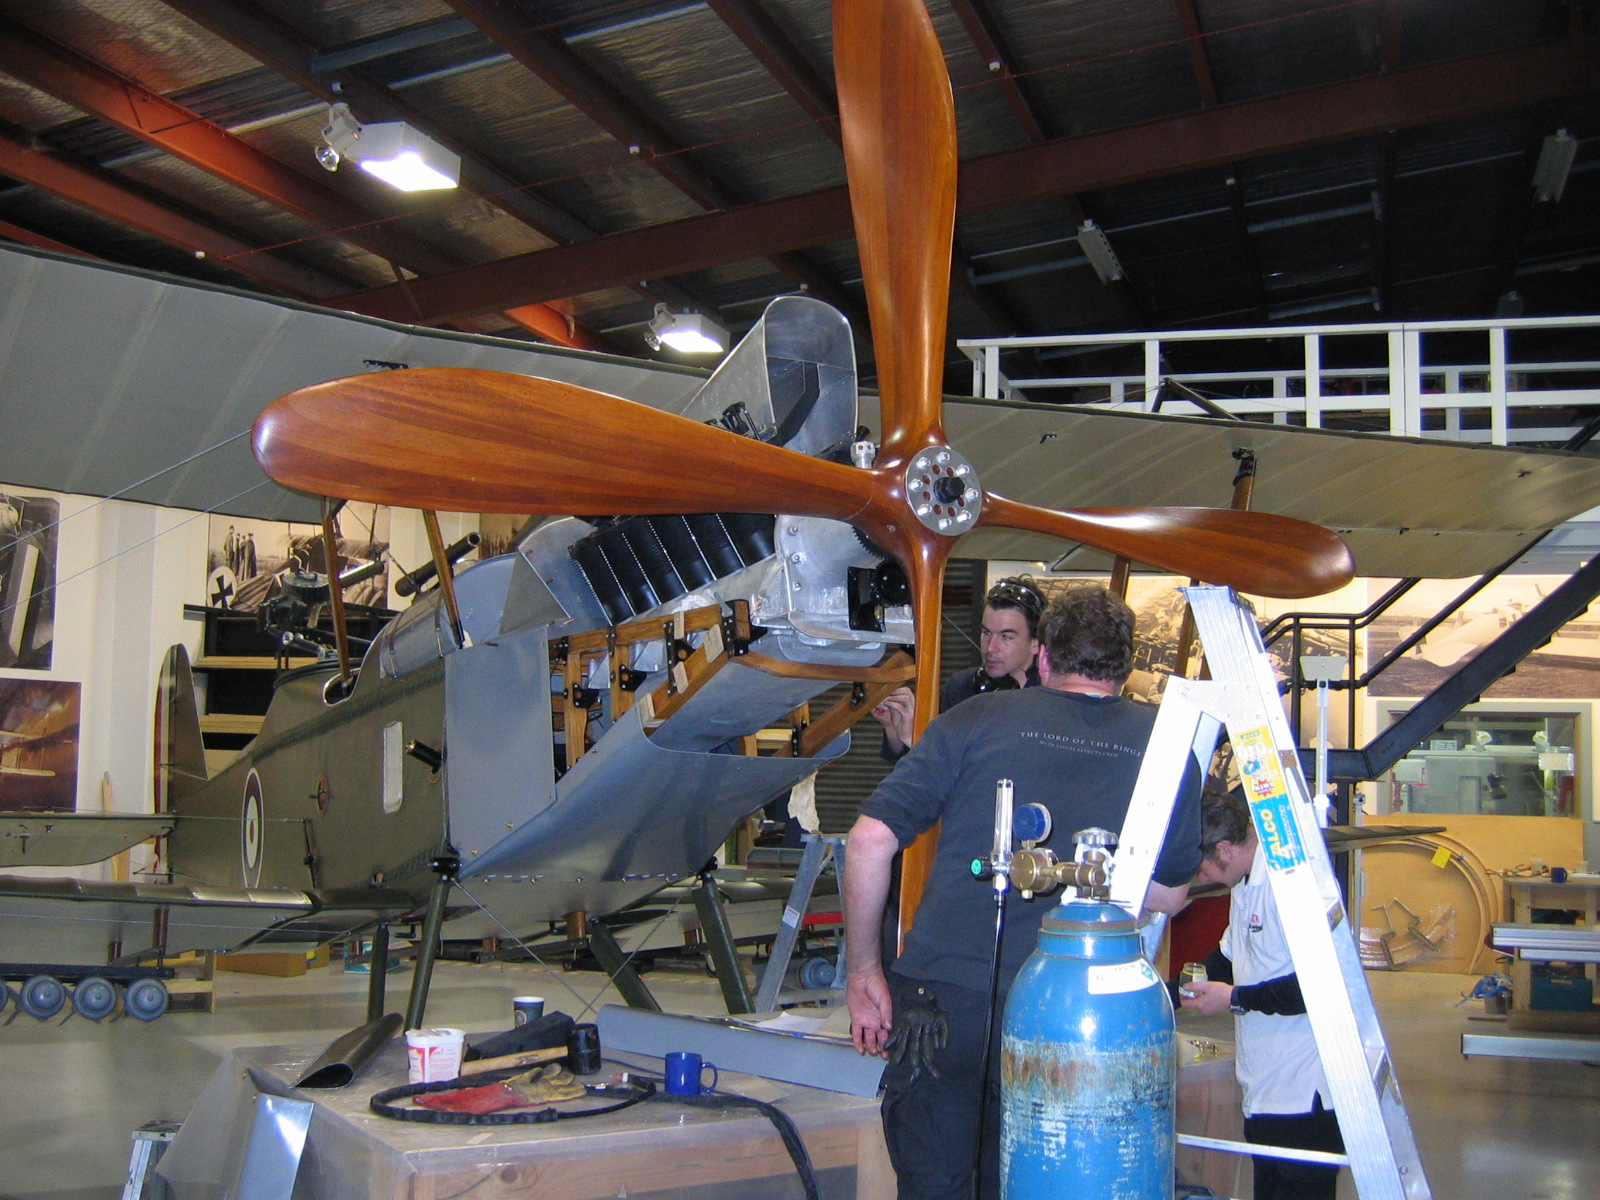
We did have an original drawing of the tinned steel fuel tank and so decided to make that rather than try to recreate the gutta percha type collapsible fuel tank. For the engine we tried to create a nice looking replica RAF.4a. We digitally modeled an original oil sump and upper crankcase and had these two components cast in aluminium. Since this is an aircooled V-12 engine very similar to the RAF.1a used on the BE.2 series of aircraft we were able to use actual cylinders we had cast for our RAF.1a engine. This yielded an authentic looking RAF.4a engine to which we fitted cooling baffles and air intake, and the distinctive exhaust stacks protruding above the upper wing.
A Giant Takes Shape
Finishing touches included splicing cables for the control system, making streamlined wires, fabricating the sternpost with working trim mechanism, building the tail skid, fitting the centre sections and wings, carving interplane and body struts, making instruments, dash board and seats, covering, fitting Scarff ring and making Lewis gun twin mounts and carving our own four-bladed mahogany propeller.

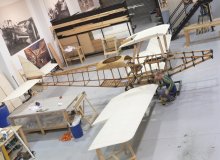
You certainly can't beat an original aircraft - but the one thing reproductions allow you to do is present the aircraft as it would look amid the mud, oil and grime of the Western Front. We've all seen photographs showing these aircraft caked in dirt, and that's just how we finished our Harry Tate. No need for a pristine museum finish here! It was all hands to the pump for the last few days before our deadline but we got there ... just! We were sweeping up and moving steps out of the way as our Omaka guests were coming through the front door!
From Pristine to War Weary
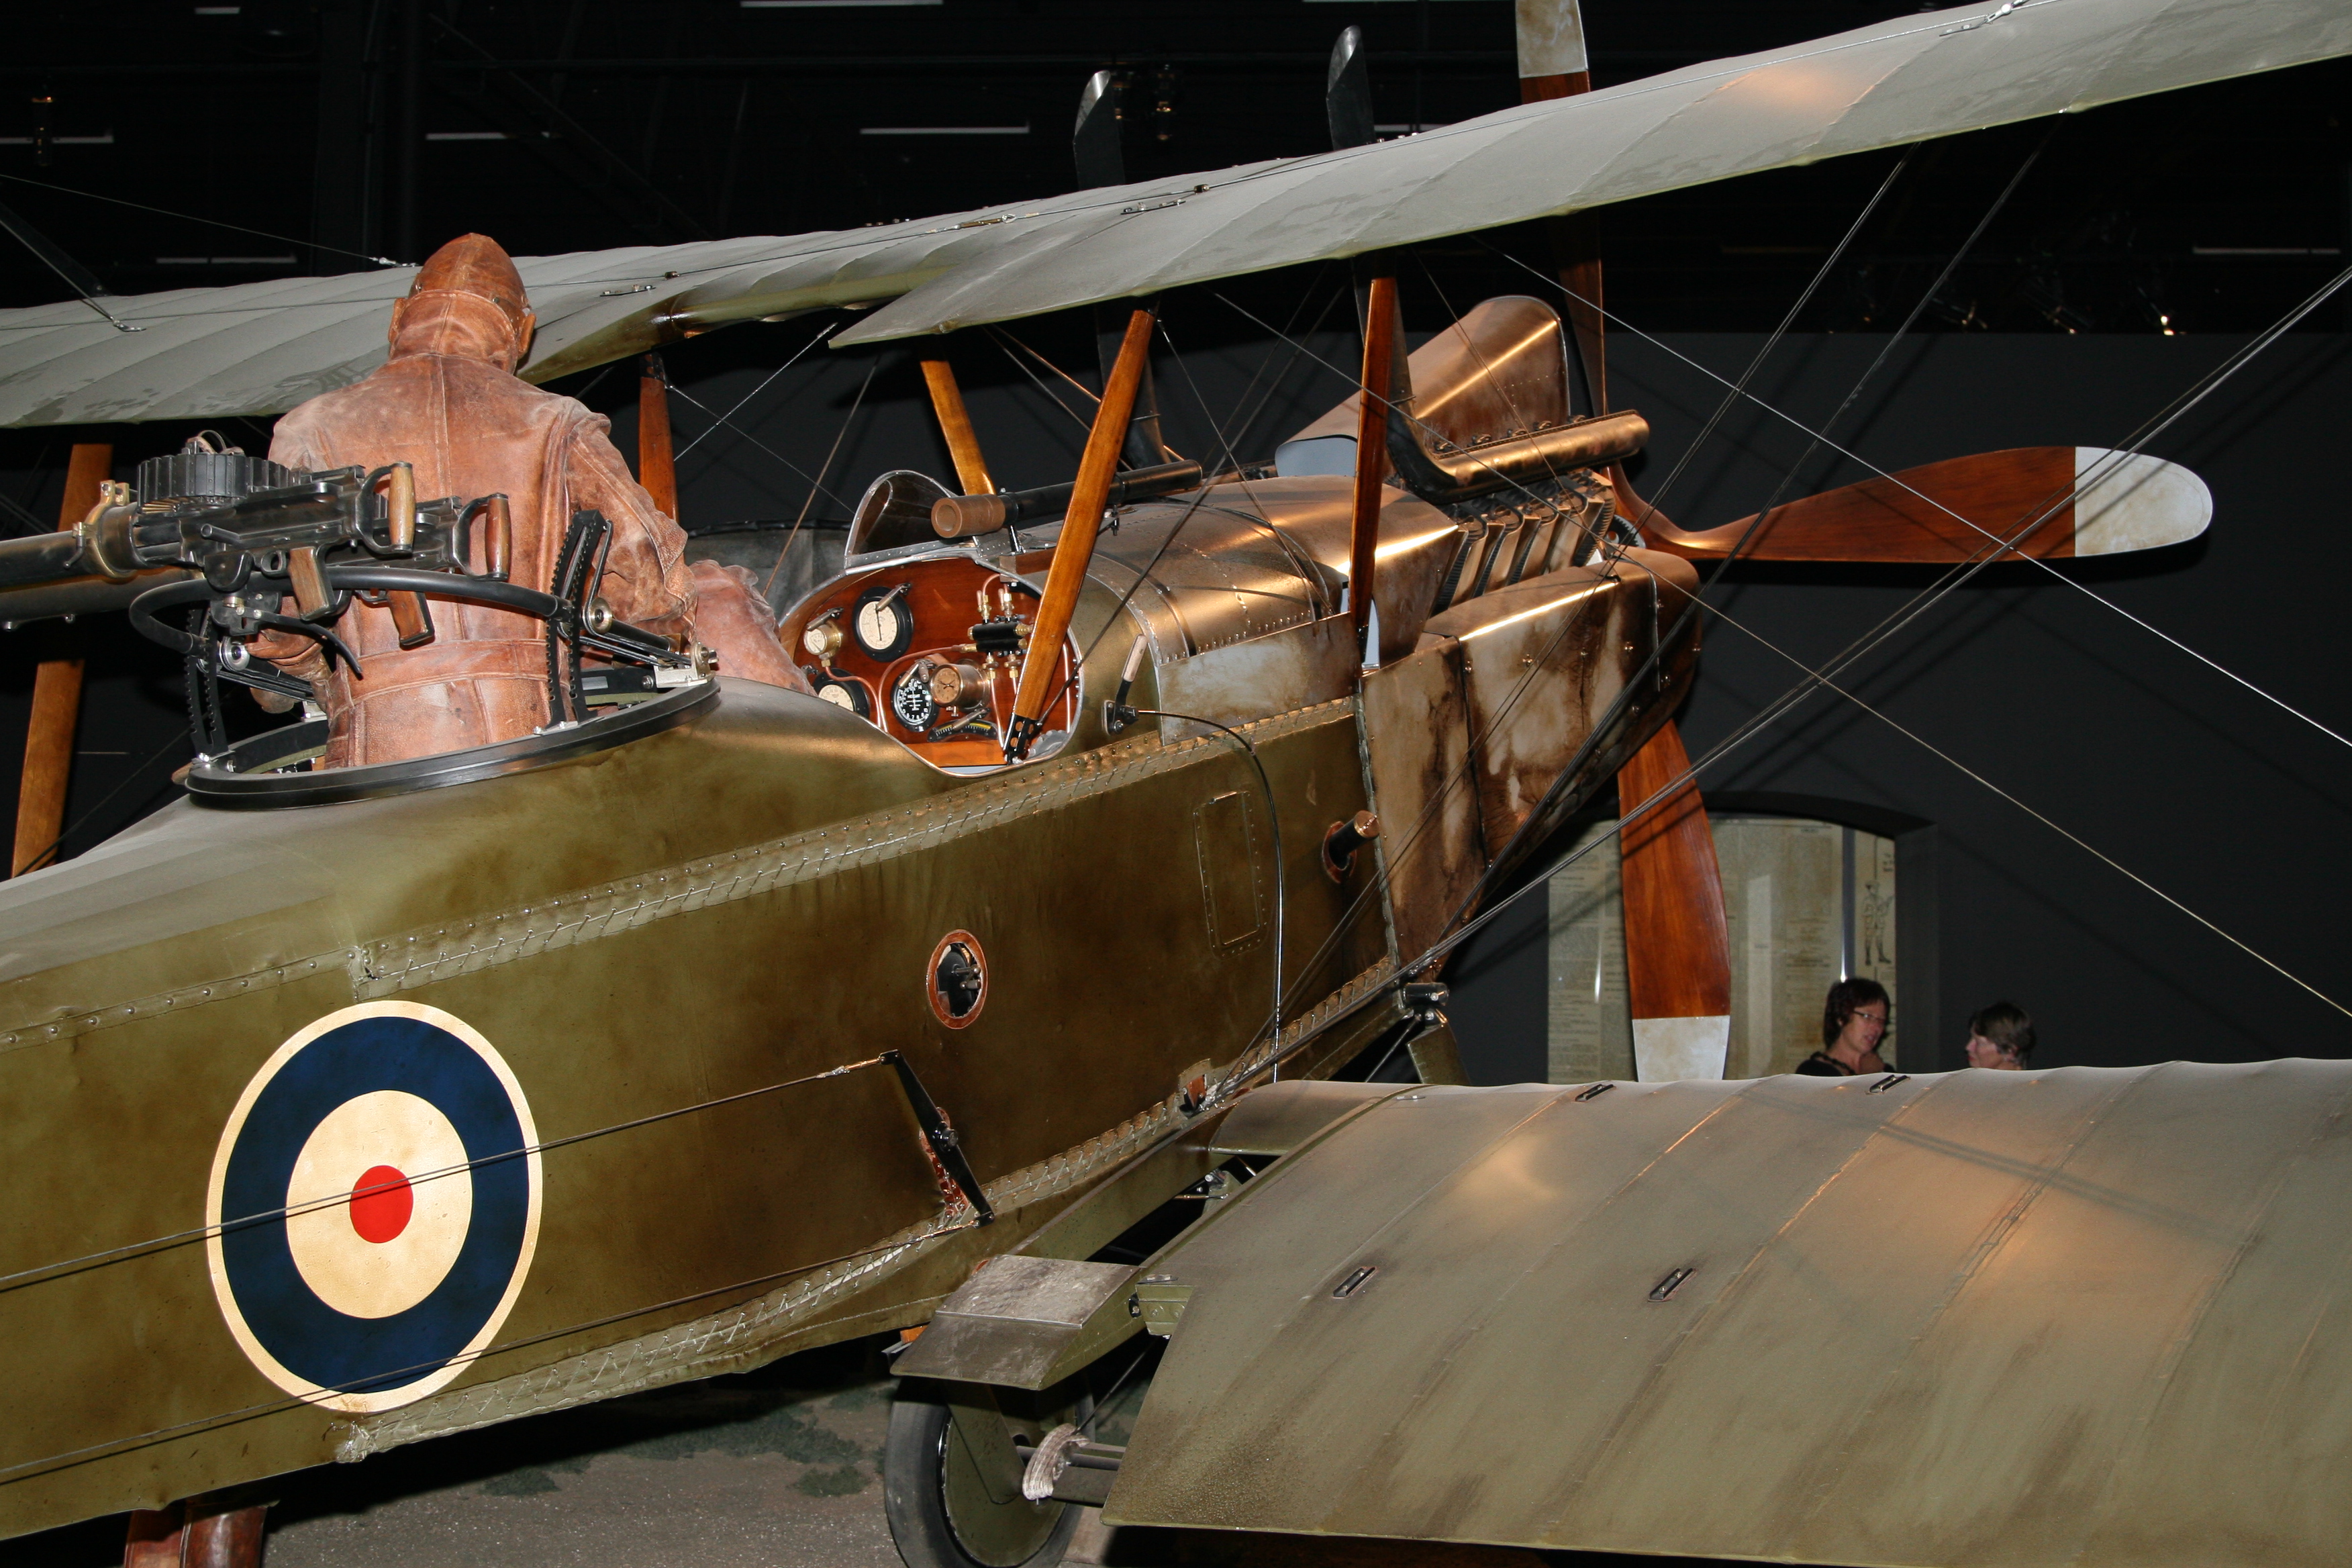
The whole experience was challenging and exhilarating and we hope that at the end of the day we have managed to create an authentic copy of a classic WW1 legend for everyone to appreciate for years to come. The completed RE.8 is a thing of beauty, ungainly, unique, and much larger than any of us imagined. Currently set in a diorama at The Aviation Heritage Centre, Blenheim New Zealand. The scene depicts soldiers and armourers readying the RE.8 for another flight with the pilot looking over a chart discussing the mission while the aircraft rests on a grass airfield and is being serviced.
Thanks
We would like to pass on our thanks to David Piron and Pascal Giltay at the Musée de l’Air and John Delaney at the Imperial War Museum, RAF Duxford for their valuable assistance in the research of this project.We are still hoping to complete our set of RE.8 drawings and continue planning to get one of these machines back into the sky again.
